


Enrollment Help Center
Complete your enrollment in two steps.
First, upload your required documents. Then, sign your Enrollment Agreement electronically. This guide walks you through both, start to finish.
Step One
Upload required documents.
Get your files ready and submit them through the upload form. Here’s how it works, step by step.
Select your course type
Choose the tab that matches the program you enrolled in: Licensure Programs, Masters, Workshops, or CEU's. Each course type has its own document requirements, so make sure you're on the correct tab before uploading.
Get your documents ready
Have clear, legible copies of your required documents on hand. Depending on your program, these may include:
- A valid government-issued photo ID (driver's license, passport, or state ID)
- Your high school diploma, GED, or equivalent (Licensure Programs)
- Any additional credentials requested for your specific program
Accepted formats are standard image files (JPG, PNG) and PDF. Make sure the full document is visible, in focus, and free of glare.
Upload your files
Complete the form with your full name and contact information exactly as they appear on your enrollment, then attach your documents and submit.
Continue to the next step
Once your documents are submitted, click "Move to the Next Step →" to sign your Enrollment Agreement electronically.
Move to the Next StepUpload from Your Phone
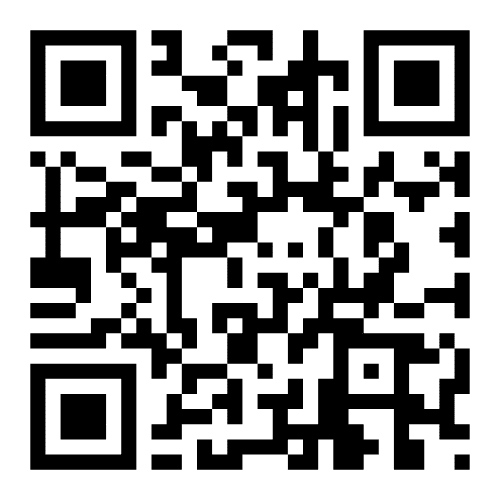
Scan the QR code on this page with your phone's camera. It will open the upload form directly on your device, so you can take photos of your documents and submit them on the spot — no scanner needed.
If you completed high school outside the United States, you must upload a copy of your official high school diploma in its original language, together with a certified English translation.
Students enrolling in the Electrolysis and Laser program: for licensing purposes, your diploma translation must be completed by one of the following approved evaluation services only:
- International Education Evaluations — myiee.org
- National Association of Credential Evaluation Services — naces.org/members
- Foreign Credential Evaluation Services — eres.com
Translations from any other company will delay your application approval and license processing, and may result in additional time and cost.
Step Two
Sign your Enrollment Agreement.
Read the notes below before you begin, choose the correct agreement, then sign electronically through Dropbox Sign.
Before you begin: read this first
Note your dates
Write down your program's Start Date and End Date from the Program Details section — you'll enter them inside your agreement. Save them before opening the signing platform.
Fast Track Labs
If you selected the Fast Track Labs option during checkout, keep that same selection when completing your eSign agreement.
Under 18?
If you are under the age of 18, your Enrollment Agreement must be signed by a parent or legal guardian.
Step 1: Identify your course type
There are two different agreements, and it’s essential that you sign the correct one. Not sure which category your course belongs to? Check the Program Details section on this page or contact Student Services before signing.
- Skincare
- Electrolysis & Laser
- Skincare, Electrolysis & Laser
- Medical Aesthetician
- Clinical and Aesthetics Medical Assistant
- Master Body Sculpting
- Master Cosmetic Laser
- Master Medical Aesthetician
- Phlebotomy Certification
- Eyelash Extensions
- Microneedling and Regenerative Procedures
- Advanced Chemical Peels & Hydrafacial
- Electrology 20-Hr CEU's
How to sign: step by step
Confirm your program details
Review the Program Details section: verify your course type, course name, and — most importantly — note your Start Date and End Date. You'll be asked for them in the agreement.
Open the signing platform
Click the "eSign Agreement →" button that matches your course type. You'll be redirected to Dropbox Sign (HelloSign), where the process is guided from start to finish.
Complete and sign your agreement
Enter your full legal name and email address exactly as you provided them during enrollment. Fill in every required field, including your program name and your Start and End Dates — then review the terms carefully and apply your electronic signature.
Submit and save your copy
Click Submit to finalize. You'll receive a signed copy of your Enrollment Agreement by email — save it for your records. Once submitted, your enrollment is officially complete. Welcome to FAMA!
Student Services
| Day | Hours |
|---|---|
| Mon - Fri | 9:00 AM - 5:00 PM |
| Weekends | Closed |
Services Provided:
- Scheduling
- Records
- Certifications
- Academic Support
- Career Guidance
Admissions
| Day | Hours |
| Mon - Fri | 9:00 AM - 6:30 PM |
| Weekends | Closed |
Services Provided:
- Program & Enrollment Info
- Campus Tours
- Requirements
Having trouble uploading or not sure which agreement to sign? We're happy to walk you through it.
Student Services · Mon–Fri, 9 AM–6 PM